Fixing Bad Audio in a Video File
Today we will talk about how to swap an audio track in a video. The concept is simple: a video is really a ‘movie’ stream, and at least one ‘audio’ stream. The video player software will select the proper audio stream based on the meta data. Our process is the following:
- Extract the video to a file (if you don’t already have a digital copy)
- Extract the broken audio from the video
- Repair the audio track
- Swap the broken audio with the correct audio
Background
I wanted to create this video because I purchased a movie from Amazon under the name Artiflix. The company appears to extract VHS tapes and burn them onto DVDs. This transfer resulted in poor audio. The left channel is entirely static, but the right channel was pretty good. I knew I could use the terminal application, FFMpeg to swap audio channels, so I got to work.
Extracting the Video
The first step is to extract the video. Please consult your local laws, as some countries may not permit the extraction of a video from a DVD. If you are in the clear to extract the video file, the application you need is HandBrake. You will will need some DVD codecs on your computer. These are generally going to be included with multimedia codecs, and VLC also ships with them. Pop the DVD in the computer and boot up Handbrake. Open up the source from the file menu and you will see the chapters. Usually the application will pick the correct video. You can consult the HandBrake documentation for all the application details.
Extracting and Repairing the Audio
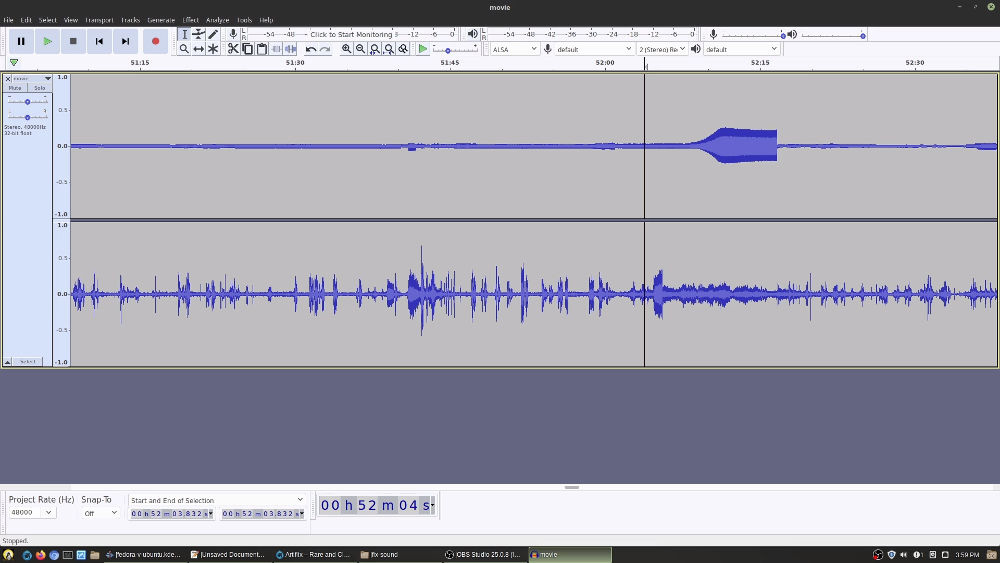
Simply open the extracted movie file in Audacity; the program will extract the audio track:

Now that you have the track. You will need to fix it. The repairs will depend on what is wrong. In this case, I need to remove the bad channel, duplicate the bad channel into a new stereo channel, and do some selective amplification. Once me edits were done, I save the file in the highest quality possible. I used the maximum mp3 in this case. Verify that the audio sounds good.
Swap the Audio
The terminal application, FFMpeg allows you do a lot of audio/video manipulation. In this case, we will examine the “streams” which are video, audio, and even subtitle streams in the video. We will be able to see the streams with the following:
ffmpeg -i movie.m4v
You can see the streams, and they are labeled with the codecs, whether it is audio, video, or subtitle.

In my case, I navigated the terminal to the folder containing both files. Then I ran this command:
ffmpeg -i movie.m4v -i movie.mp3 -map 0:0 -map 1:0 -c:v copy -c:a ac3 -b:a 256k -shortest mb-movie.m4v
To break this down, the two “-i” commands are the inputs, and those files become 0 and 1 respectively.
- map 0:0 – Takes the first stream from the movie file, which is the video feed
- map 1:0 – Takes the first stream from the audio file, which is the corrected audio
- c:v copy – Copies the video stream (instead of re-encoding it)
- c:a ac3 – Encodes the audio into the new file. I was not able to copy it
- b:a 256k – Sets the bitrate. The default is 128k, which does not sound as good
- shortest – If the two streams are different sizes, it truncates the file to the shortest of the streams
- mb-movie.m4v – This is the final output file.
So what we did was copy the video track and merge that with the corrected audio track. On final examination, the subtitles from the input video was preserved. This tutorial shows why learning the terminal is a good thing. While I personally prefer GUI applications, there is great power in many terminal commands that really bring power to Linux.